It was a warm afternoon. We have been hoping for this weather since the beginning of Spring. It finally came! The park was full, and so were the parking lots. It took a while for some of us to find parking space, but we finally made it to the studio. Michelle and Guido were waiting for us, as always, with a smile.
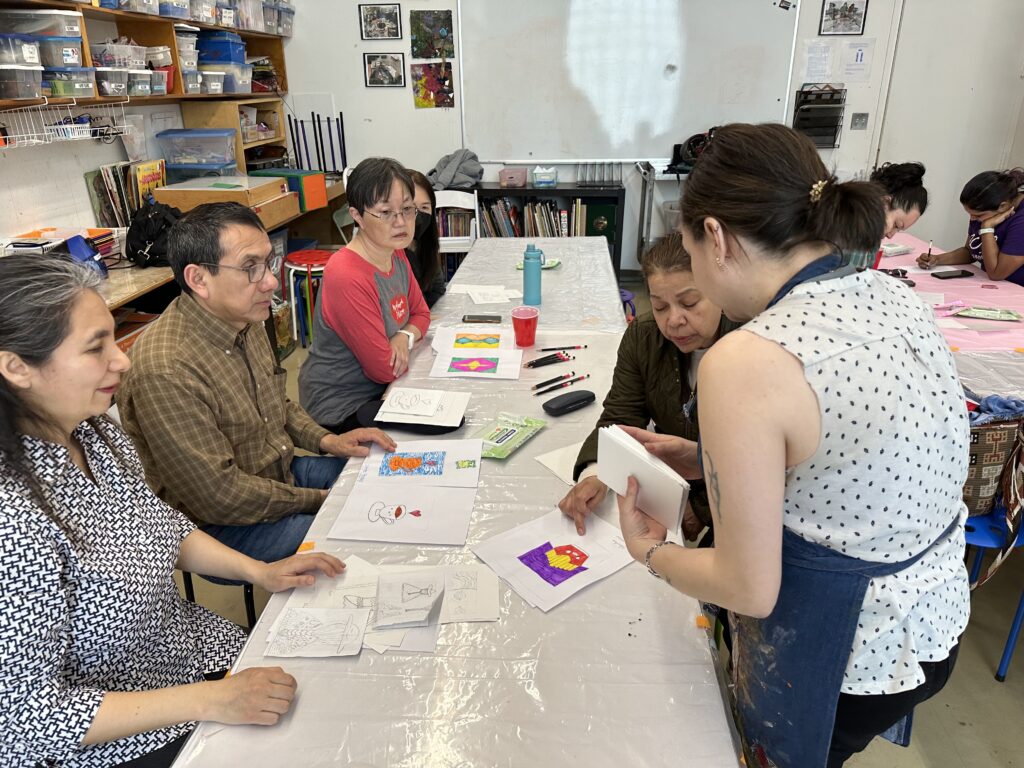
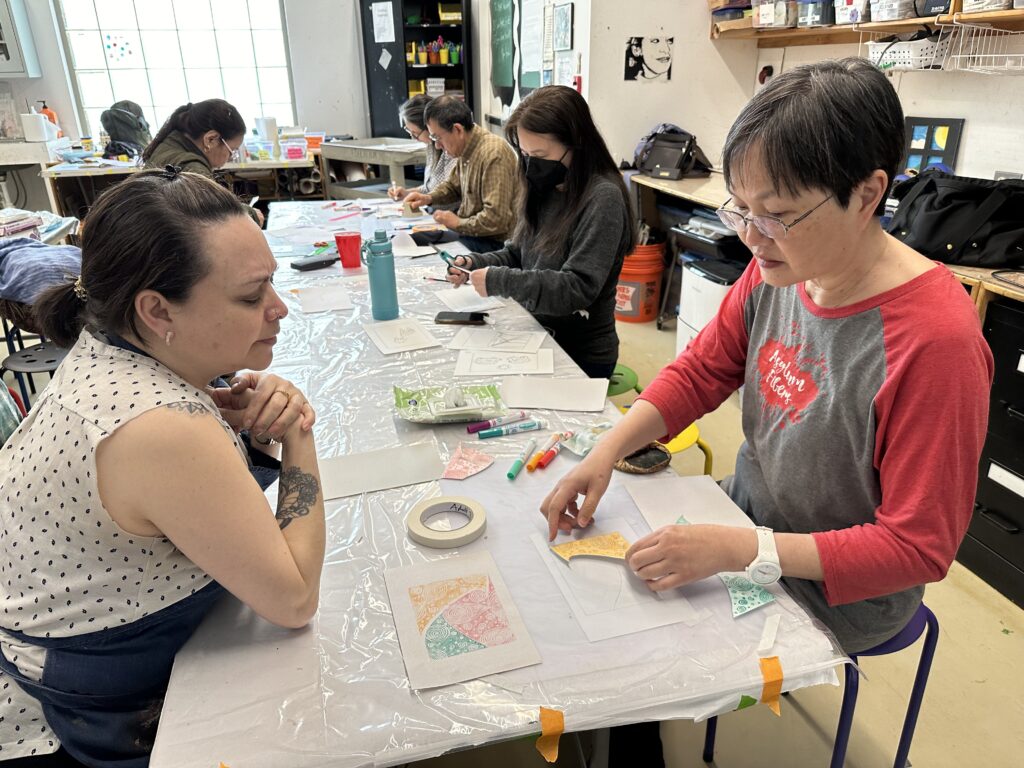
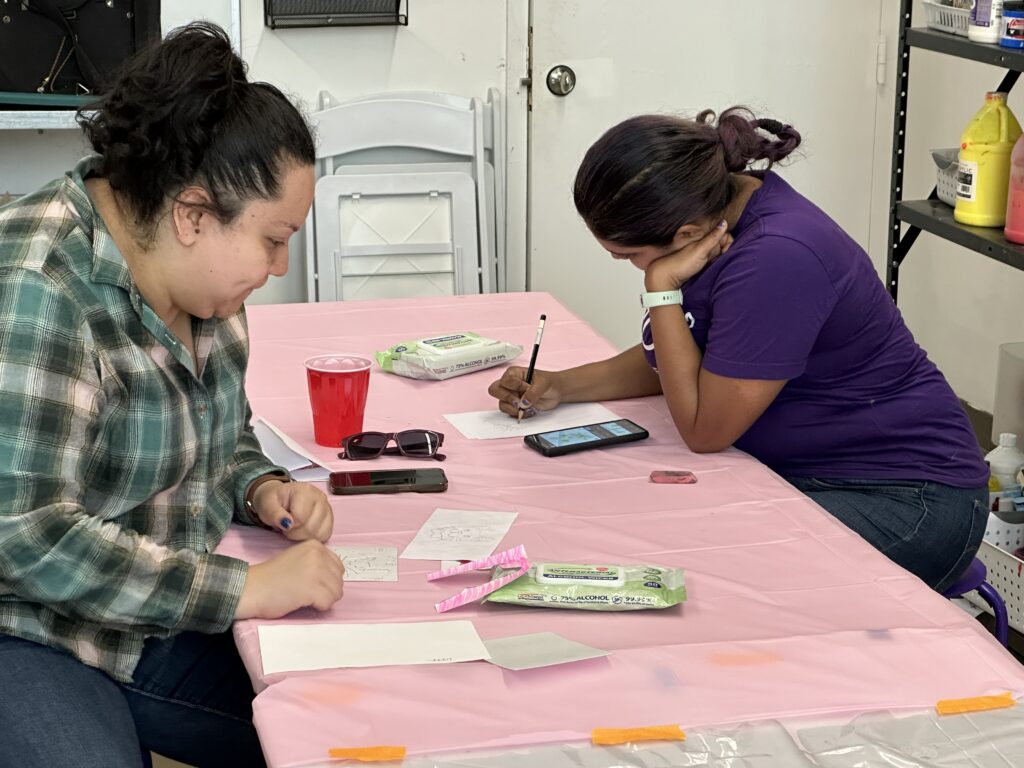
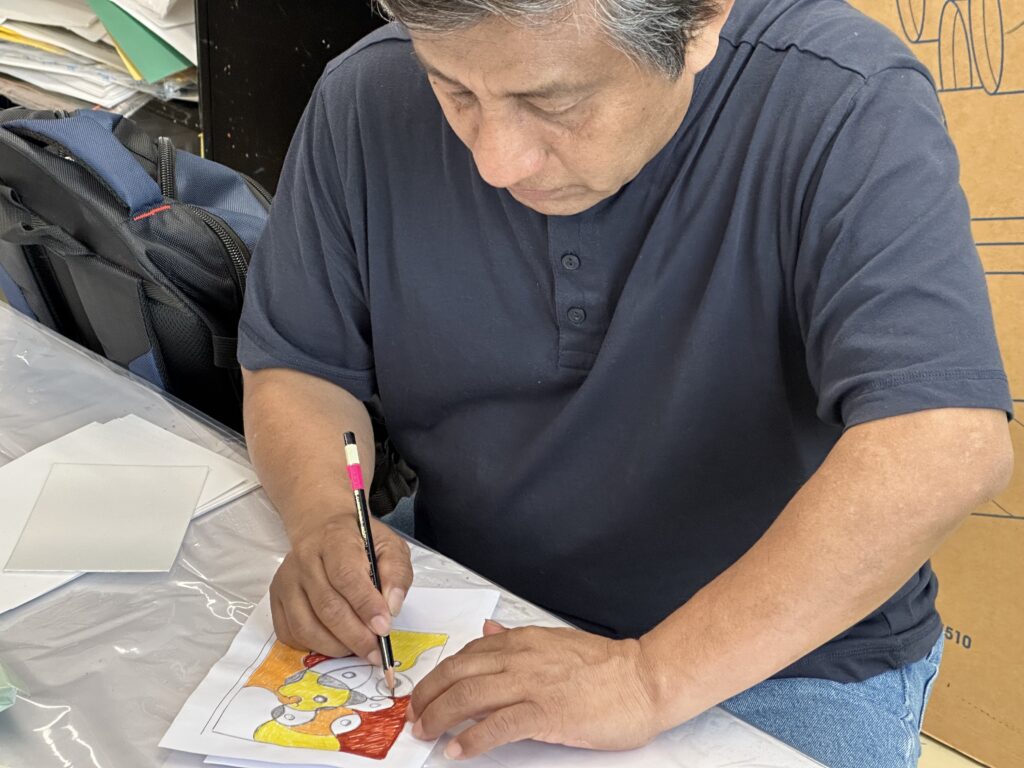
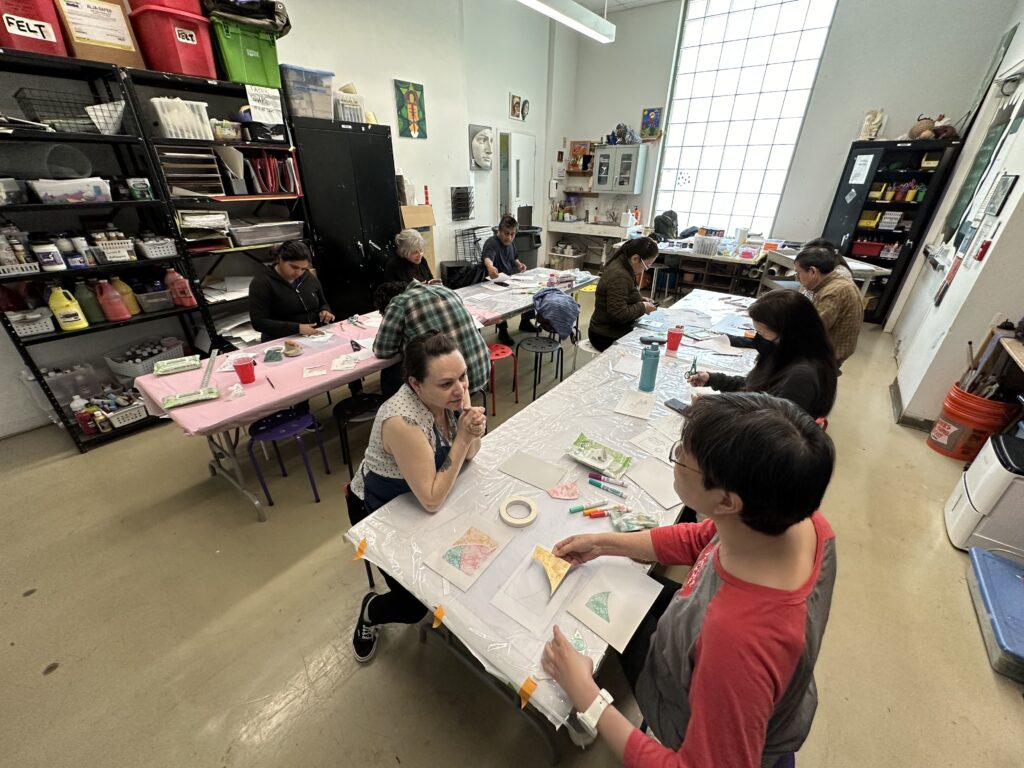
With the warm weather comes the beautiful colors of Spring, making it the perfect time for our color printing project. We kept working on the Styrofoam plates and focused on deciding what colors to use for the multi-color print. Michelle also told us that we should plan this print as a puzzle. For this exercise, we did not overlap colors. Instead, we set the colors one next to the other.
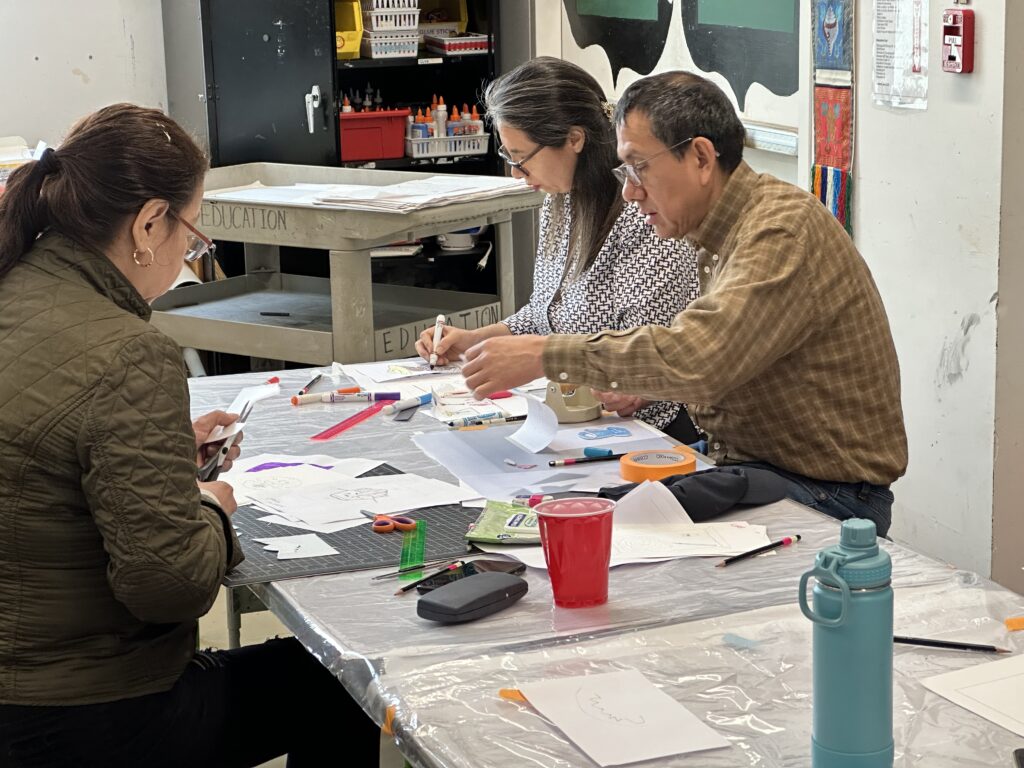
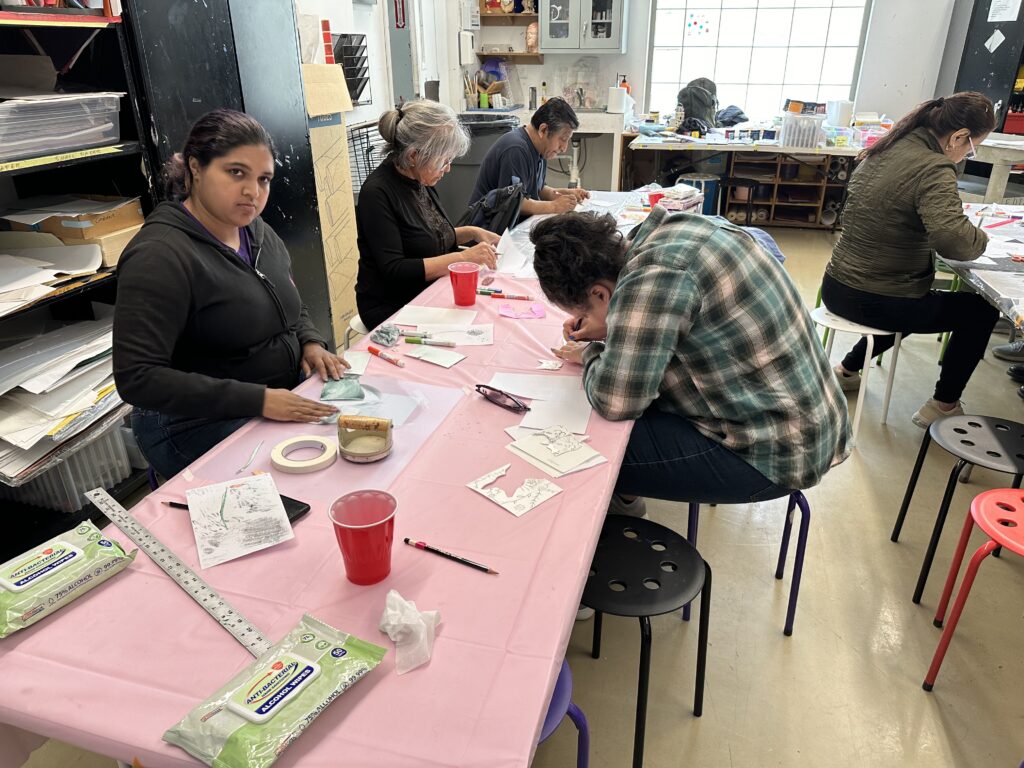
Thus, many of us started printing. First, we made a quick print using washable markers to understand how the colors would look. Then we used inks, brayers, and Barens (although some people found it more effective to rub the back of the paper with their finger, Hey, whatever works is fine). Some of us printed the first color. Michelle said we had to wait until the ink was completely dry before adding the second color. We saw bright prints and cannot wait to see how they slowly turn into multi-color prints. As with everything in life, this process requires time and patience.
See you at the next class!
Text by Michelle Melo
Spanish / Español
¡Un Domingo cálido por fin!. Esperábamos este clima desde el principio de la primavera. ¡Finalmente llegó! El parque estaba lleno, al igual que los estacionamientos. A algunos de nosotros nos tomó un tiempo encontrar espacio para estacionar, pero finalmente llegamos al studio. Michelle y Guido nos esperaban, como siempre, con una sonrisa.
Con el clima cálido llegan los colores de la primavera, lo que la convierte en el momento perfecto para nuestro proyecto de grabado usando dos colores o mas. Seguimos trabajando en las placas de poliestireno. Esta vez, nuestra tarea fué: concentramos en decidir qué colores ibamos a usar para la impresión multicolor. Michelle también nos dijo que deberíamos planear este grabado como si fuera un puzzle. Para este ejercicio, no superpusimos colores. En lugar de eso, debiamos poner los colores uno al lado del otro.
Así, muchos de nosotros comenzamos a imprimir. Primero, hicimos una impresión rápida usando marcadores para entender cómo se verían los colores. Luego usamos tintas, rodillos y Barens (aunque a algunas personas les resultó más efectivo frotar la parte posterior del papel con el dedo. ¡Si funciona, está bien!). Algunos de nosotros imprimimos el primer color. Michelle mencionó que debiamos esperar hasta que la tinta estuviera completamente seca antes de agregar el segundo color. Al final pudimos ver grabados con colores vibrantes. Quedamos todos a la expectativa de ver cómo poco a poco estos grabados se convierten en impresiones multicolores. Como todo en la vida, este proceso requiere tiempo y paciencia.
Texto por Michelle Melo
¡Nos vemos la siguiente clase!

 New New Yorkers