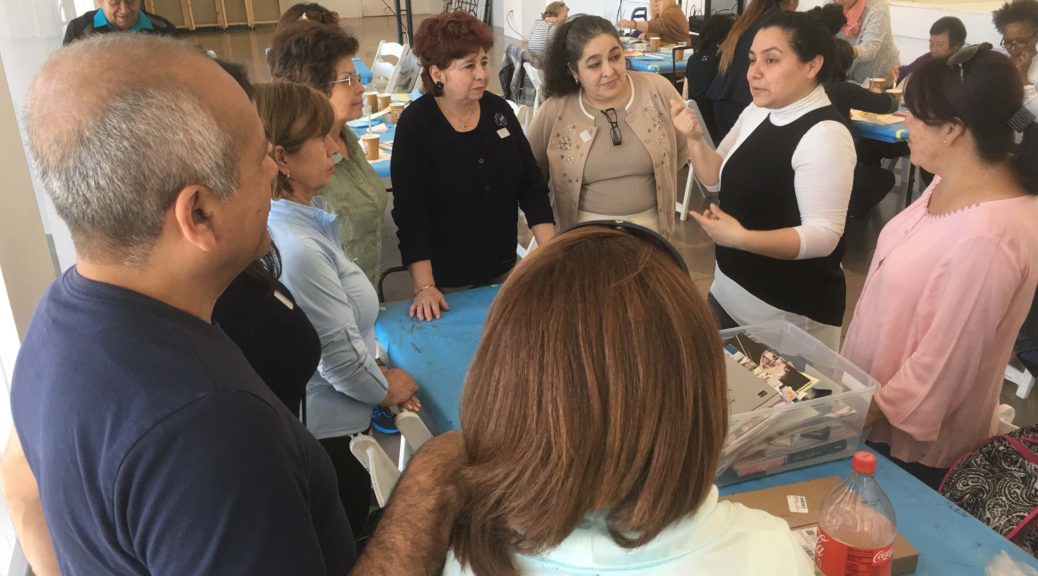
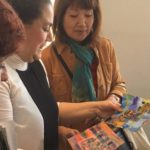
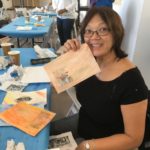
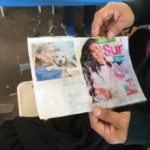
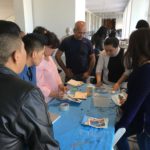
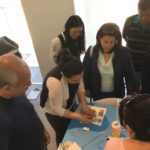
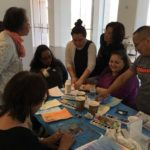
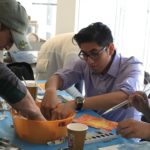
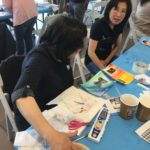
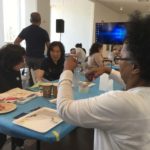
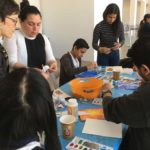
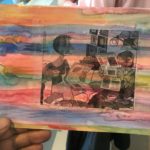
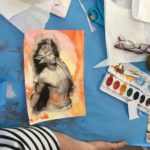
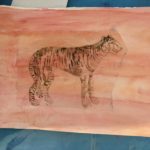
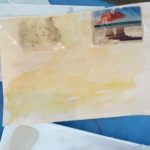
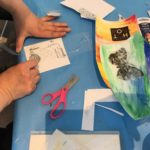
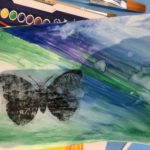
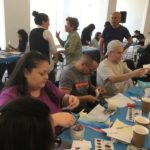
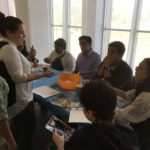
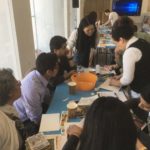
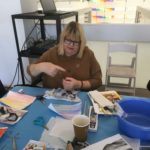
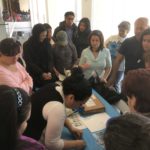
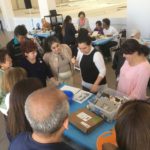
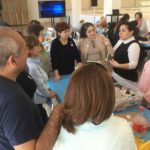
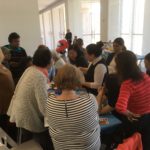
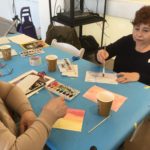
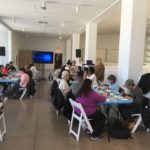
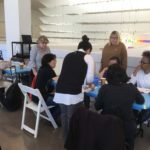
This was a workshop, the second of our series of one-time workshops had a large number of participants. Mariella Suarez, an artist born in Peru, led the workshop and showed participants a new technique.
Introduction to photo transfer techniques: demonstrated 2 basic techniques to use in the transference of a printed image.
Characteristics that the image must have in order to be transferred:
- The image must be printed in laser printer so that the image is sharp, if it is not laser, you will have a very faint image of it.
- We can use images from magazines in color or B / W too.
- Photographic paper shall not be used for the quality and thickness of the paper. (Remember that what we want in transference: it is only the ink, the paper we’ll remove and the thicker the paper, we will have greater difficulty in removing it)
- If we want to use text in our photograph, we will have to work it in the computer and make the text in reverse, since our transfer will be like a mirror and we will be able to read the text without problem.
1st technique: Photo Transfer using thick transparent adhesive tape.
Materials to be used:
Pictures of magazines in color or in B / W, 1Roll of transparent tape, Recipient with water Watercolor white paper and scissors. (For the background of our work: watercolor and Brushes)
Process:
Tape is cut adhesive of the size of the figure that we want to transfer, and then the tape with the glue is placed on top of the photograph. Then we immerse in a recipient with water our image upwards.
After a few minutes, and the paper has become soaked, proceed to remove the paper with your fingertips, very gently to remove all paper completely.
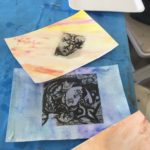
Then we will have the color ink or B / N attached to our transparent tape, which we can use in our artwork, either layer on layer, as part of a collage, or as an image ready to burn in our screen printing.
2nd technique: Photo Transfer using Mod Podge.
Materials to be used:
Pictures of magazines in color or in B / W, Mod Podge, bowl with water, white paper watercolor and scissors. (For the background of our work: watercolor and brushes)
Process:
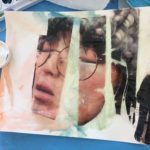
A medium layer of Mod Podge is applied with a brush over the image that we want to transfer, and then the image of the watercolor paper or background is placed. We rub our image on the background to help the ink of the image react and adhere to the background. Then we remove the paper from our image, leaving only the ink on our watercolor paper or watercolor painted background. If the Mod podge is dry, we add water to help remove the paper from our printed image.
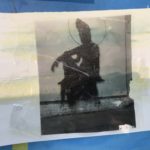
We should wait for a few minutes and gently rub with our fingertip fingers on the paper of our image, so that it completely withdraws. In both proven techniques, what we get is that the ink passes from one surface to another.
Este fue una taller, el segundo de nuestra serie de talleres de una sola ves tuvo gran numero de participantes. Mariella Suárez, artista nacida en Perú, condujo el taller y mostró a los participantes una nueva técnica.
Taller de introducción a la transferencia de fotos : se demostraron 2 técnicas básicas para usar en la trasferencia de una imagen impresa.
Las características que debe tener la imagen para poder ser transferida.
- La imagen debe ser impresa en impresora laser para que la imagen sea nítida, si no es laser , se tendrá una imagen muy tenue de la misma.
- Se podrán utilizar imágenes de revistas a color o B/N también.
- No se utilizara papel fotográfico por la calidad y grosor del papel. ( recordemos que lo que queremos en una trasferencia : es solo la tinta, el papel lo quitaremos y mientras mas grueso sea el papel; tendremos mayor dificultad en retirarlo)
- Si queremos utilizar texto en nuestra fotografía , deberemos trabajarla en la computadora y hacer que el texto sea en reverso, ya que nuestra transferencia sera como un espejo y asi podremos leer el texto sin problema.
1era tecnica : Foto Transfer utilizando cinta adhesive gruesa transparente.
Materiales a emplear:
Fotos de revistas a color o en B/N, 1Rollo de cinta adhesiva transparente ,Recipiente con agua
Papel blanco acuarelable y Tijeras. (Para el fondo de nuestro trabajo: Acuarelas y Pinceles)
Procedimiento:
Se corta cinta adhesiva del tamaño de la figura que deseamos transferir , luego se le coloca la cinta con el pegamento encima de la fotografía . Luego sumergimos en un recipiente con agua nuestra imagen con la cinta pegada con el papel hacia ariba.
Luegos de unos minutos y que el papel se ha empapado por completp , procederemos a retirar el papel con la yema de los dedos , muy suavemente hasta retirar todo el papel por completo.
Entonces nos quedara la tinta a color o B/N adherida a nuestra cinta transparente, la cual podremos usar en nuestros trabajos artísticos , sea capa sobre capa , como parte de un collage , o como imagen lista para quemar en nuestra malla serigrafica.
2da técnica : Foto Transfer utilizando Mod Podge.
Materiales a emplear:
Fotos de revistas a color o en B/N, Mod Podge ,Recipiente con agua,papel blanco acuarelable y tijeras. (Para el fondo de nuestro trabajo: Acuarelas y Pinceles)
Procedimiento:
Se aplica una capa mediana de Mod Podge con un pincel sobre la imagen que deseamos trasferir, luego se coloca la imagen encima del papel acuarelable o fondo . Se frota nuestra imagen sobre el fondo para ayudar a que la tinta de la imagen reaccione y se adhiera al fondo.
Luego retiramos el papel de nuestra imagen , quedando solamente la tinta sobre nuestro papel acuarelable o fondo pintado con acuarela.s a que seque el Mod podge , y luego le agregamos agua para ayudar a que se termine de retirar el papel de nuestra imagen impresa.
Esperamos unos minutos y frotamos suavemente con nuestra yema de los dedos sobre el papel de nuestra imagen , para q se retire por completo.
En ambas tecnicas demostradas , lo que conseguimos es que la tinta pase de una superficie a otra.

 New New Yorkers